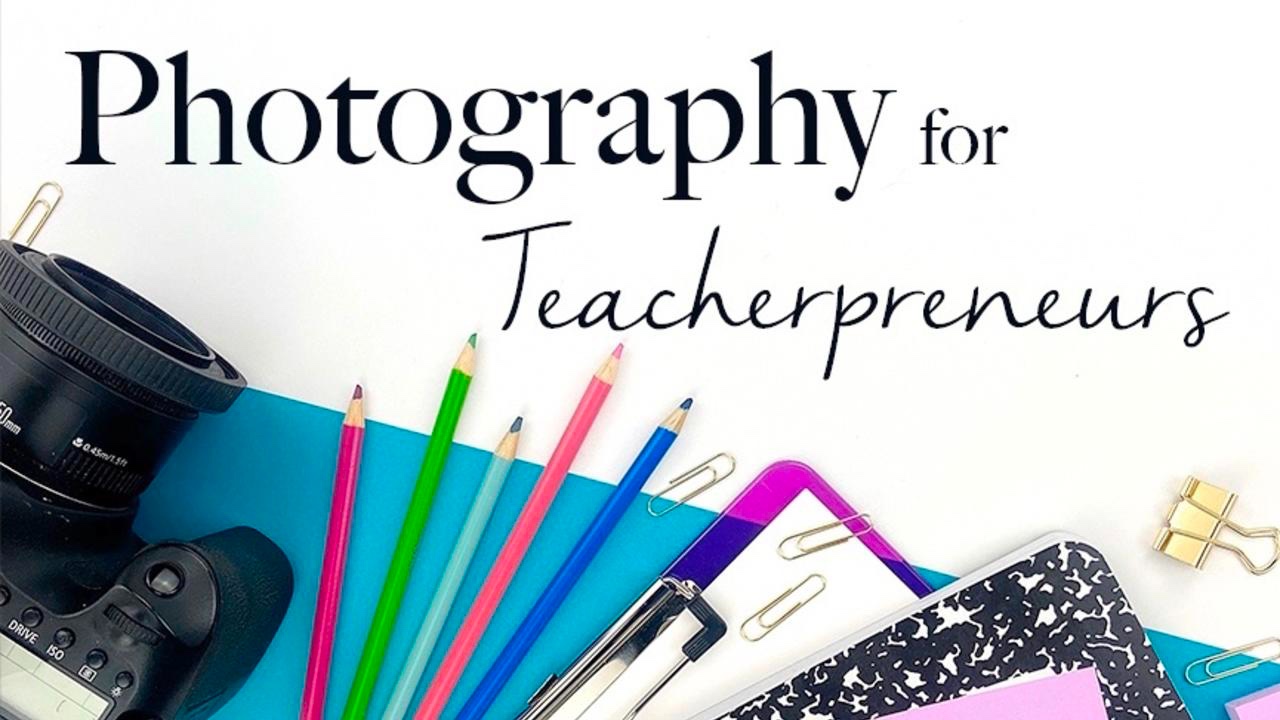
The Value of...Your Image

3 Tips to Take Great Photos That Will Sell More Products
Recently I came across a post in a Facebook group I am part of in which a member shared that he was having some financial challenges and needed his Teachers Pay Teachers store to generate more revenue. He was an expert in his focus area with years of experience and had produced some terrific and helpful resources, but his store just wasn’t selling. He was open to suggestions and members of the group were gracious to share great tips, ideas, and encouragement (a huge part of what I love so much about the teacher-author community!). Maybe I’m biased, but the one that jumped out at me was from a member who suggested that he invest in some colorful and professional photos of his resources and use those photos in his store and on social media to reintroduce his audience to his works. She said that it is the image and not the content that first catches her attention and gets her to click on a product or link to learn more. Others echoed her sentiment.
Think about that for a moment. It is the image that helps your audience decide if they are going to invest their time and attention to learn more about what you created and are selling. We’re not even talking about them buying it yet, this is just so that they click to see more! How many of you are raising your hands right now because you know that it’s absolutely true of you and how you shop? I’m such a visual person, it’s 100% me, for sure! So many edupreneurs know this to be true, but then the frustration sets in because then the next thought is, “but I wouldn’t even know where to begin!”
Yall, this gets me pumped because that’s exactly what I’m here for! So, let’s identify 3 simple tips that you can put into action immediately AND with supplies you already have that will drastically improve your product images so that we can accomplish two huge goals: 1)to help more people find your resources, 2) to help you sell more of them! (*For those who want better photos, but don’t want to take them yourself, scroll to the end, I’ve got some thoughts for you as well!)

#1 Layer Up
A simple but effective first step to take better photos of your resource is to layer colored paper behind your resource. Take a look at this photo and you’ll see exactly what I mean. Simply by layering your resource with a few pieces of brightly colored cardstock adds depth, contrast, and character. It helps your resource JUMP off the page! If you make one small change, that takes you five seconds of time and will help your resource stand out, this is it! There are a million ways to do this, so play around with it and have fun!

#2 Use props to tell a story
Help others imagine your resource being used with props that help the image come to life. If you are a teacher-author then it’s the teacher browsing your store for that next great resource she needs to inspire her students that we want to have in mind as we style our props. Help her to envision this resource being used by her students or perhaps even herself! For example, below is a mockup image I created for art resources. The image is colorful, has brushes scattered and watercolors inviting the creativity to begin. I wanted it to look like a workspace that someone just walked away from for a quick moment before beginning their next project! For your resource, imagine what it could look like while a student is working on it and recreate THAT scene in your photo.

You’ll be amazed at how this simple step will help others see your vision and gain interest in it as well. Also, I highly recommend if your resource is black and white that you take a few minutes to color sections of it in with colored pencils before taking your photos. Color is catchy!
#3 Free Lighting
Lighting is crucial for stunning images. It truly is a “make it or break it” kind of thing in photography, there’s just no way around that. When I first started my business as a product photographer I am a little embarrassed to admit that I didn’t have a lighting setup. I solely used natural light. I had no clue how to use studio lights and was quite intimidated to even try! Thankfully, I got over that, but one big reason I share that is to encourage you that if that’s all you have right now, you CAN still get great images with just natural light! The challenge with natural light is that it can be inconsistent, but here are a few ways you can reduce or even eliminate the inconsistencies.
- Take your photos at the same time of day and from the same location of your home or office so that the lighting will be similar.
- Indirect light is better than direct. Find a spot near a window where the sun isn’t directly coming through as direct light causes streaks and shadows.
- Lay your setup and resource on a white piece of poster board. You may be tempted to use a countertop or a desk, but I’ve found the simplicity of a poster board works great for catching the right light and focusing the attention on your resource and props instead of a noisy background.
Now! For those of you who want better images, but don’t have the time (because truly, your money maker is your content, so that’s where the bulk of your time should be, right?!) or desire to take them yourself, the fastest, easiest and most cost-effective way to out-source your product photography is...
To give mockups a try! Mockups are simply images that you can use to digitally overlay your resource with the end result like that of a custom image. With Photoshop or Canva and other apps out there, you can personalize these to show your resource and make a beautiful image.
One of the problems that my private clients continued to tell me about was that despite the large quantity of beautiful stock and mockup images out there, there were always coming up short finding things appropriate for their niche of teacher resources. The fruitless hours scouring only left them more frustrated. So I’ve been on a mission to help solve that problem! First, if you are interested in trying mock-ups for your resource check out my TPT store where I have a few freebies and a growing catalog of images available. If your business needs a high number of images, I also have a monthly membership where each month I save my clients time and money as they receive 30+ professional images designed specifically for teacherpreneurs on the first of every month. The membership opens a few times a year, but you can find out more and join the waitlist by clicking here. Finally, I have 15 free images just for you to help you get started with some mockups and stock images. Get them here!
Wherever your business is at this moment, displaying your resources on professional images is within reach whether you choose to do it yourself or seek some help. And as always, I’m here in your corner cheering you on!
So, tell me in the comments below, what are your thoughts on the value of an image!👇
Hi Yall! I'm Brett!
As owner of MollyBrett Photography and Founder of The Styled Stock Market, it is my mission to make your life as a teacher-author more fabulous by creating images that save you time, energy, make your products look incredible and truly get you pumped to market your business!